Introduction
For a few years now I've wanted to build a Telecaster from parts (or partscaster, as they're known), but I've never had the time or space. Although I've never been a Tele fan in the past, the simplicity and character of this early guitar has really started to appeal to me. I have my own place now, I've not bought a new guitar in years, so I feel it's time give it a go.My ideal build would be a vintage sounding guitar with that authentic twang that you'd associate with those early Fenders. So, no hot pickups, individual bridge saddles, locking tuners or modern body-cuts for me, but a chance to learn about the history of this instrument in a very practical way.
Less Than the Sum of the Parts
Just to be clear, a guitar made up from parts is always going to be less valuable than a genuine Fender, so there's no point doing this if you want to sell it down the line for for anything like it's value. It's not going to be as desirable as a genuine Telecaster, it's just a partscaster, so your best hope for recouping value would be to break it back up and sell the parts on Ebay.Which brings me to the focus of the project. What is my strategy and desired endpoint?
- Build a 'T' shaped guitar from parts. (I don't have the woodworking tools to make a body and neck, and those cheap kits generally get terrible reviews)
- Try to use second hand stuff where I can. (Ebay)
- Use medium to high quality parts where it matters. (Use cheaper parts when it doesn't)
- Build something that sounds and feels vintage. (The pre-CBS, 50's era, ideally)
History
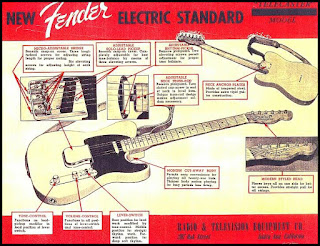
According to wikipedia, the Telecaster (Broadcaster, Nocaster or Esquire, as it has also been called) was one of the first solid body electric guitars, and it was originally made from ash and maple. Later alder was often substituted for ash, and unlike other guitars at the time, featured the now ubiquitous bolt-on neck design. This made production easier and was thought, at the time, as a way to allow the neck to be removed for servicing or replacement.
Where To Start
I started watching prices of necks and bodies on Ebay, and initial findings showed lots of necks up for sale but not that many 2nd hand bodies. The end-of-auction prices tended to be £90 or more, and don't even consider trying for a real Fender one because they just fetch silly money. It began to dawn on me that it would be far cheaper to buy a complete guitar. There are also lots of new bodies for sale around this price point, but it was starting to feel like an expensive way to buy a cheap guitar.So, the project was dead unless I could find a cheap body. It needed to be ash or alder, not mahogany and I didn't particularly want the semi-hollow Thinline style.
Then it happened,.. I saw this, threw in a last minute bid and managed to pick it up for £30.
I didn't have an exact criteria, but I think this is either ash or alder, and it's got that lovely oak burl veneer and black binding. It's never had a pick guard fitted, the neck pickup is routed for a mini humbucker, and no string holes through the body. The pickup and control cavities are at least partially shielded with copper tape, but someone's gouged some of the routing with a chisel or something.
- The control cavity is deeper where the selector switch was. I'm guessing they fitted a bigger switch unit. Okay, that saves me a job.
- It was only when I started measuring the bridge cavity that I realised that the hole was too big for the vintage ashtray style bridge. They're 86mm long, and looking at the marks in varnish, the previous one had been 97mm. My heart sank a little.
Okay, so now I had the body, the project has started, what next?
The neck of course!
On to part 2


No comments:
Post a Comment